


Looking to level up your Deadlock experience with some handy console commands? This guide will show you how to create an autoexec.cfg file to automate certain commands and keyboard shortcuts, making your gameplay smoother and more optimized. This guide is a translation of Lovely’s guide on the official Deadlock Discord and will evolve over time.
The autoexec.cfg file is essential to save aliases and commands between sessions, so you don’t have to re-enter them every time you start the game. In this guide, discover how to create one and add the best commands for Deadlock. These commands can help you customize your key bindings or remove certain graphical elements for a better experience.
For even more tips on configuring Deadlock, check out our guide to easily changing your crosshair in Deadlock and our complete guide on mastering Wall Jump in Deadlock to enhance your performance.
How to Create and Use an Autoexec File in Deadlock
Follow these steps to set up an autoexec.cfg file in Deadlock:
- Go to the directory
steamapps\common\Project8Staging\game\citadel\cfg - Create a Notepad file in this folder and name it autoexec.cfg.
- Open the file and add the command
sv_cheats trueas the first entry. - Save and close the file.
- Right-click on **Deadlock** in Steam, then go to Properties.
- Under the **General** tab, add
-dev +exec autoexec.cfgin the launch options.
Every time you launch Deadlock, all the commands and shortcuts added to the autoexec.cfg file will execute automatically.
Useful Commands to Add to Your Autoexec
Here are some useful commands you can add to your autoexec.cfg file to customize and optimize your gameplay in Deadlock.
Switch Regions on the Fly
To quickly switch regions without leaving the game, add the following command:
bind KEY "incrementvar citadel_region_override -1 3 1"Replace KEY with the key you wish to assign. Be careful not to use a key already assigned to another action.
Toggle HUD Visibility
To quickly toggle the HUD display on and off, use this command:
bind KEY "toggle citadel_hud_visible true false"This lets you switch between a clean view and the full HUD display, which is useful for taking screenshots or reducing visual clutter.
Disable New Player Recommendation Icon
This command removes the green “Ideal for new players” icon that appears next to the heroes’ portraits in the roster:
citadel_display_new_player_recommendations falseInstantly Activate Item Abilities
To quickly activate item abilities with a single press (without needing to click again for confirmation or target activation), add this command:
bind KEY "+in_item1;+attack;-in_item1;-attack"Replace KEY with the key you wish to assign. You can also adapt this command for different slots in your item bar (item1 to item4).
 Deadlock Update Meet Mirage AntiCheat Overhaul and Fresh Gameplay Tweaks!
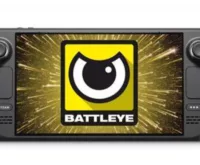
  Deadlock Valve Gears Up with New AntiCheat Software to Combat Aimbots
  Deadlock Update How the September 12 Patch Makes Farming Easier Find Out Now!
  Deadlock Update Matchmaking 247 Behavior Overhaul and Hero Upgrades Whats New for September 13 2024
  Unlocking Deadlock The Ultimate Guide to Joining the Community Forums
 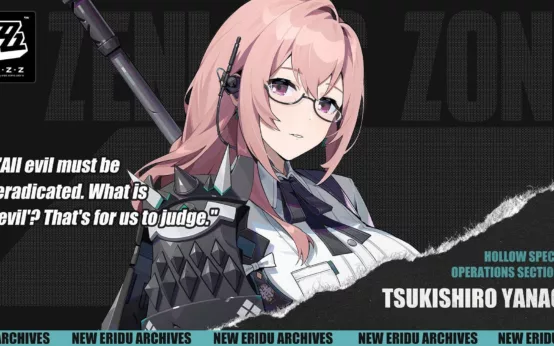 Unveiling Yanagi in Zenless Zone Zero 13 Meet the Electrifying New Agent and Dive into Her Role
  No Updates for The First Descendant Until October 10 Nexon Reveals Why
  GTA Online Update Tanks Playability on Steam Deck
  Apex Legends Update September 17 Dive into the AllNew Space Hunt Event and Balance Tweaks
  PS5 Gamers Mark Your Calendars Leaks Reveal September 24th Could Be GameChanging